How to Prepare Pavers Before Sealing: A Step-by-Step Guide for Homeowners and DIY Enthusiasts
Proper preparation is the key to ensuring your concrete pavers look their best and remain protected for years to come. Before you seal them, it’s essential to follow a thorough preparation process. This guide will walk you through each step, providing tips and recommendations along the way.
Importance of Proper Preparation
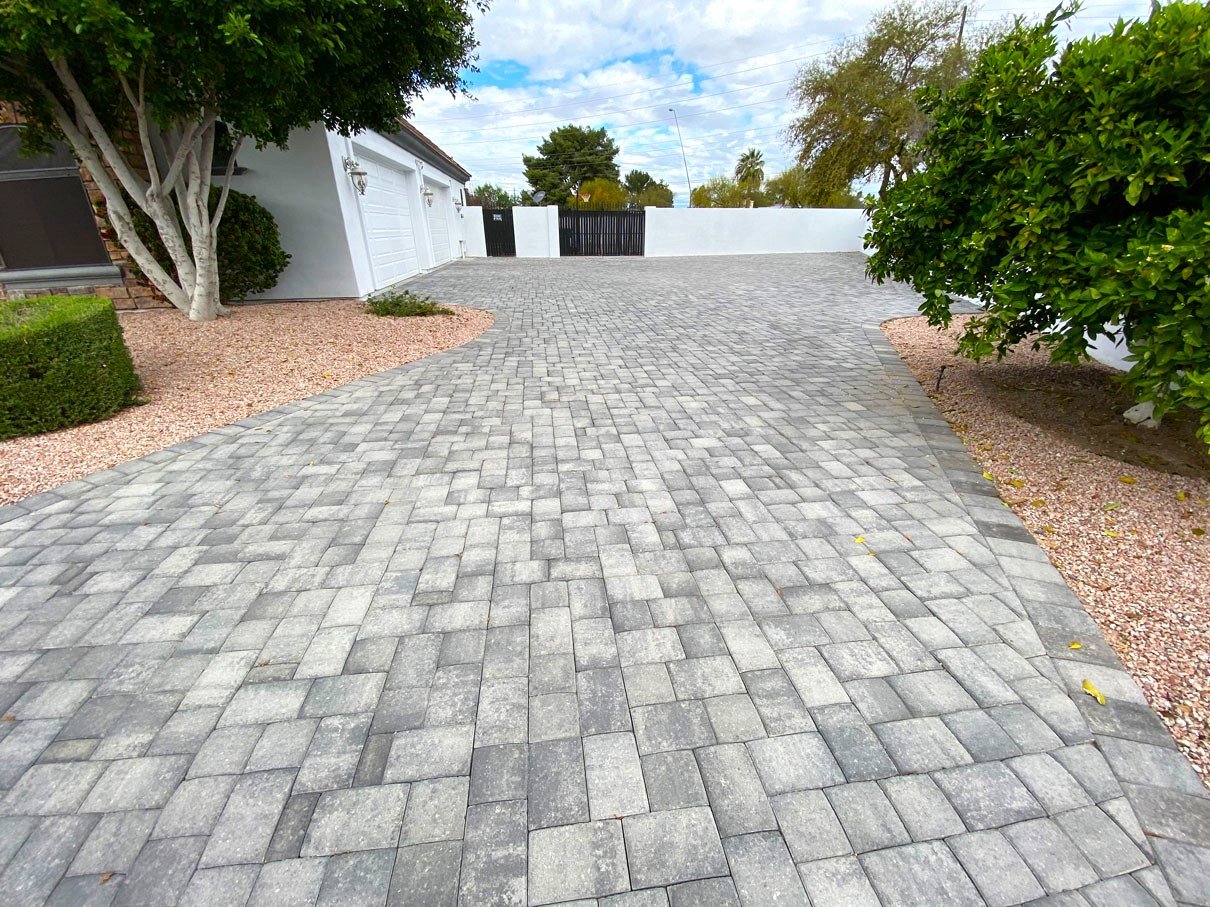
Pavers can be made to look better and be shielded from wear, weather, and stains by sealing them. On the other hand, poor outcomes can occur from sealing them without proper preparation. Stains, filth, and other debris can get trapped under the sealant, decreasing its efficiency and producing an unappealing finish. A clean surface is ensured by careful preparation, which helps the sealant adhere well and offer the finest protection. Proper preparation is also crucial when working with concrete patios to ensure longevity and durability.
Necessary Materials and Tools
Before starting, gather the following materials and tools:
- Pressure washer
- Cleaning solution suitable for paving surfaces
- Stiff-bristle broom
- Garden hose
- Repair materials
- Sandpaper or a sanding block
- Protective gear (gloves, safety glasses, etc.)
Step-by-Step Preparation
- Clearing the Area of Debris and Furniture
Start by clearing the space of all furniture, plants, and other objects. To make sure your work surface is tidy, remove any trash, including sticks, leaves, and dirt. Clearing debris is also an essential first step when preparing concrete driveways for sealing or repair. - Sweeping and Cleaning the Area to Remove Dirt and Grime
Take a stiff-bristle broom and give the surface a good sweep. Removing any loose dirt or grime, this step serves to increase the efficiency of the coming cleaning procedures. This step is equally important for maintaining stamped concrete surfaces to prevent dirt and grime buildup - Pressure Washing the Area to Remove Stubborn Stains and Dirt
Get your pressure washer ready by adding a paver-specific cleaning solution. To prevent them from getting damaged, use a low to medium-pressure setting. Concentrate on any spots that are highly filthy or discolored as you evenly spray across the surface. Make sure you adhere to the pressure washer’s and the cleaning solution’s manufacturer’s directions. - Allowing the Area to Dry Completely
Let them air dry thoroughly after washing. This is an important step because a damp paver sealer can trap moisture, which can promote the formation of mold and mildew. This could take a day or two, depending on the weather. By touching them and feeling for any moisture, you can make sure they are fully dry. - Repairing Any Cracks or Damaged Pavers
Examine them for any damage or cracks. To fill up and fix these spaces, use sand or new materials. For the sealing process to go well, the surface must be even and unbroken. - Sanding the Pavers to Ensure a Smooth Surface
After repairs are completed, use sandpaper or a sanding block to gently sand the surface. This stage aids in removing any sharp edges and gets the surface ready for sealing. Sweep the area once again to get rid of any dust or debris after sanding. Same step can be considered while installing concrete steps.
Tips and Recommendations
- Choosing the Right Cleaning Solution and Pressure Washer Settings
For the greatest outcomes and to prevent damage, use a cleaning solution made specifically for surfaces. Start with a lower pressure setting while using a pressure washer, and if necessary, increase it gradually. Proceed with caution as high pressure can harm the surface. - Avoiding Damage to the Surface during the Cleaning Process
Maintain a constant spacing of 12 inches or so between the pressure washer nozzle and the surface. Keep your attention from staying on one area too long to avoid etching or other damage. - Ensuring the surface is Completely Dry Before Sealing
Choose a dry, sunny day for the preparations by consulting the weather forecast. If necessary, use a leaf blower to speed up the drying process after washing. To prevent absorbing moisture, make sure the surface is completely dry before applying the sealer.
It is essential to properly prepare your surface before sealing to guarantee a perfect and durable finish. Homeowners and do-it-yourselfers can get expert results that improve the look and longevity of their surfaces by following this comprehensive instruction. Preparing, restoring, and cleaning the surface pays off by giving the sealant a smooth surface to stick to. The result of careful planning now will be stunning, long-lasting results that will not fade. Savor the lasting beauty of your outside area and the pleasure of a job well done.


